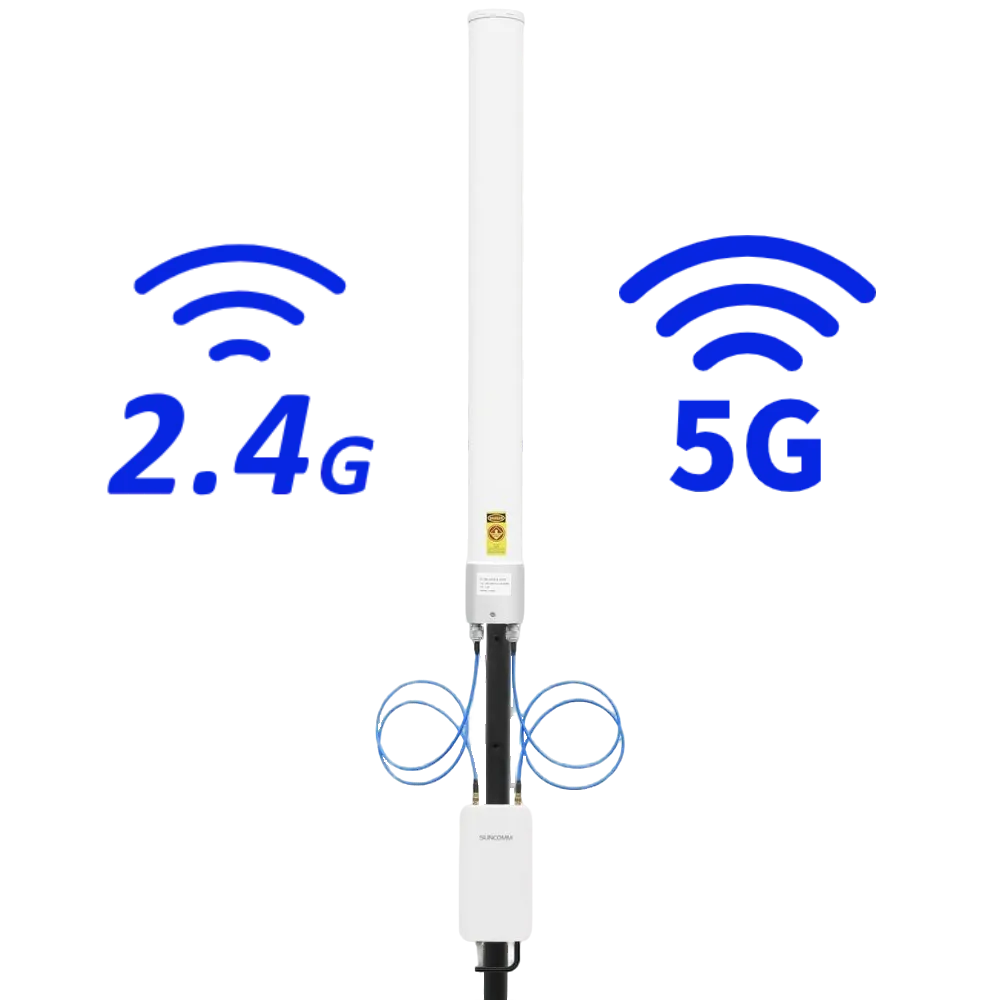

When setting up WiFi for use the height at which the equipment is installed can make a big difference in how well the wireless signal performs. Placing the equipment higher helps reduce interference from objects and improves the path the signal can travel. Good places to install the equipment may include:
- Rooftops
- Towers
- Elevated structures
But going higher also brings challenges. The mounting structure must be:
- Stable
- secured
- Able to handle wind
- Properly grounded
- Built to last in outdoor conditions
The equipment and cables also need protection from rain, moisture and other weather elements.
.webp "A2 (1).png")
Outdoor gear is exposed to the elements. A solid installation must include:
- Lightning protection
- Surge protection
- Proper grounding
- Waterproof connectors
- Outdoor-rated Ethernet cables
- Careful cable routing
- PoE protection
This is especially important when the gear is mounted up on poles or rooftops. A strong wireless setup needs both: RF Engineering and Physical Installation Engineering,One cannot take the place of the other.
At SUNCOMM we don’t see Relay Mode as a software feature. We see it as a tool for building networks. The purpose of Relay Mode is not just to make a WiFi device reach farther. It lets customers build a network using wireless nodes that match the shape of the land. This changes how we think about a WiFi project. Of asking:
“How powerful should one access point be?"
We can now ask:
“Where should each wireless node be placed to make the practical coverage?"
This is a way of thinking.
From One Device to a Distributed Wireless Network
Think about a large property. Trying to cover the area from one spot may require:
- Very high installation height
- High-gain antennas
- A difficult radio frequency environment
- Long distances to cover
An alternative is to spread out several wireless nodes across the property.
This way the wireless network follows the shape of the land. The network grows where it is needed of forcing one device to cover everything.
.webp "a1 (1).png")
This setup works well in places with limited wired infrastructure. Imagine an area with:
- One internet source
- Several buildings
- Large distances between them
- Little fiber available
A possible structure could be:
Satellite Internet / 4G / 5G / Fiber --> Main SUNCOMM WiFi Coverage Kit --> Wireless Relay Nodes --> Homes / Shops / Offices / Public Areas
This reduces the need for cable runs between buildings. It also allows the network to grow step by step. For example:
Phase 1: Main AP
Phase 2: Add Relay 1
Phase 3: Add Relay 2
Phase 4: Add Relay 3
of building the whole network at once coverage grows based on real needs.
Relay Mode for Resorts, Farms and Large Properties, The same idea applies to commercial settings.
Resorts: One internet connection can be shared across:
- Guest areas
- Villas
- Restaurants
- Swimming pools
- Gardens
- Parking areas
Farms and Ranches: Relay nodes can extend connectivity to:
- Farm buildings
- Worker housing
- Equipment zones
- Storage buildings
- fields
Construction Sites: Wireless relay nodes can provide temporary links between:
- Site offices
- Worker zones
- Storage areas
- Security cameras
- Temporary buildings
Large Properties: Multiple nodes can be placed according to the actual layout. The main benefit is flexibility.
Relay Mode and Starlink: A Practical Combination
Relay Mode works with satellite internet like Starlink. The setup can be simple:
Starlink --> Router --> SUNCOMM Main AP --> Wireless Relay --> Wireless Relay --> Wireless Relay --> Wider WiFi Area
Starlink provides the internet connection. The SUNCOMM kit handles distribution. This kind of setup is useful for homes, resorts, campsites and remote villages where satellite internet is available but the coverage area is large.
.webp "c2 (1).png")
Before setting up a SUNCOMM WiFi Relay Network check these things:
1. Identify the Internet Source
Find where the network connection comes in. Examples:
- Fiber
- 4G
- 5G
- Starlink
- Other broadband
2. Select the Main AP Location, Look for:
- height
- Reliable power
- Clear line of sight
- Safe mounting
3. Plan Each Relay Location, Each relay should have:
- A link to the previous node
- Good coverage toward the next section
- Stable power
- Proper height
4. Check Line of Sight, Look for:
- Trees
- Buildings
- Hills
- obstacles
5. Test Each Wireless Hop, Don’t just test the AP. Test:
Main AP → Relay 1
Relay 1 → Relay 2
Relay 2 → Relay 3
Each hop must work well on its own.
6. Test Real User Performance, Check:
- Signal strength
- Download speed
- Upload speed
- Latency
- Packet loss
- Stability
7. Protect the Outdoor Installation, Check:
- Grounding
- Lightning protection
- Waterproofing
- PoE
- Cable routing
- stability
Mistake 1: Putting Relay Nodes at the Maximum Possible Distance
Maximum range does not always mean best performance. A shorter stronger link is more reliable.
Mistake 2: Ignoring Line of Sight
A relay node hidden behind a tree or building can perform poorly even if it is close.
Mistake 3: Adding Many Wireless Hops
More relays mean more wireless hops. This increases. Lowers speed.
Mistake 4: Focusing on Coverage
A network may cover a wide area but still lack the capacity for many users. Coverage and capacity must be planned separately.
Mistake 5: Ignoring the Final User Device
A powerful outdoor antenna may send a signal but smartphones and other devices have limits. Test the connection where users will actually be.
.webp "4个覆盖 (1).webp")
At SUNCOMM we believe outdoor WiFi deployment should start with the environment, not the equipment. Each project is different. A farm is different from a resort. A resort is different from a construction site. A crowded community is different from a field. The right network depends on:
- Geography
- Building layout
- Number of users
- Internet source
- Needed coverage
- Required bandwidth
- Power availability
- Installation conditions
That’s why we created Relay Mode in our WiFi Coverage Kit. The goal is not to make one device reach farther. It’s to give installers flexibility when building large outdoor networks. Of asking:
“Can one device cover the whole area?"
We ask:
“How should multiple wireless nodes be placed to make coverage across the whole area?"
This shift—from a single-device focus to a network-system view—is what drives our WiFi solutions.
A WiFi Coverage Kit with Relay Mode offers a way to extend wireless coverage over large outdoor spaces. The basic idea is simple:
Main AP → Relay AP → Relay AP → Extended WiFi Coverage
But a reliable relay network needs more than adding devices. Each wireless hop must be planned. Each relay location must have a path. Coverage and capacity must be considered separately.. Outdoor work requires care, with power, grounding, weather protection and stability.
Where running Ethernet cable is hard or expensive wireless relay can be a way to expand coverage.
At SUNCOMM we are not trying to build another outdoor access point. We want to help customers build scalable and practical wireless systems that fit real environments.
Because when the area gets bigger the answer is not always:
“Use a powerful WiFi device."
Sometimes the better answer is:
“Build a network of devices that work together.”