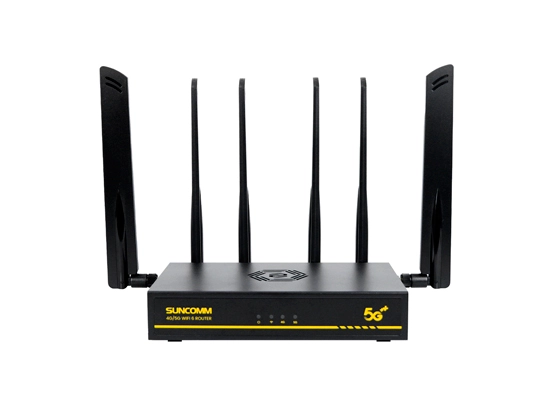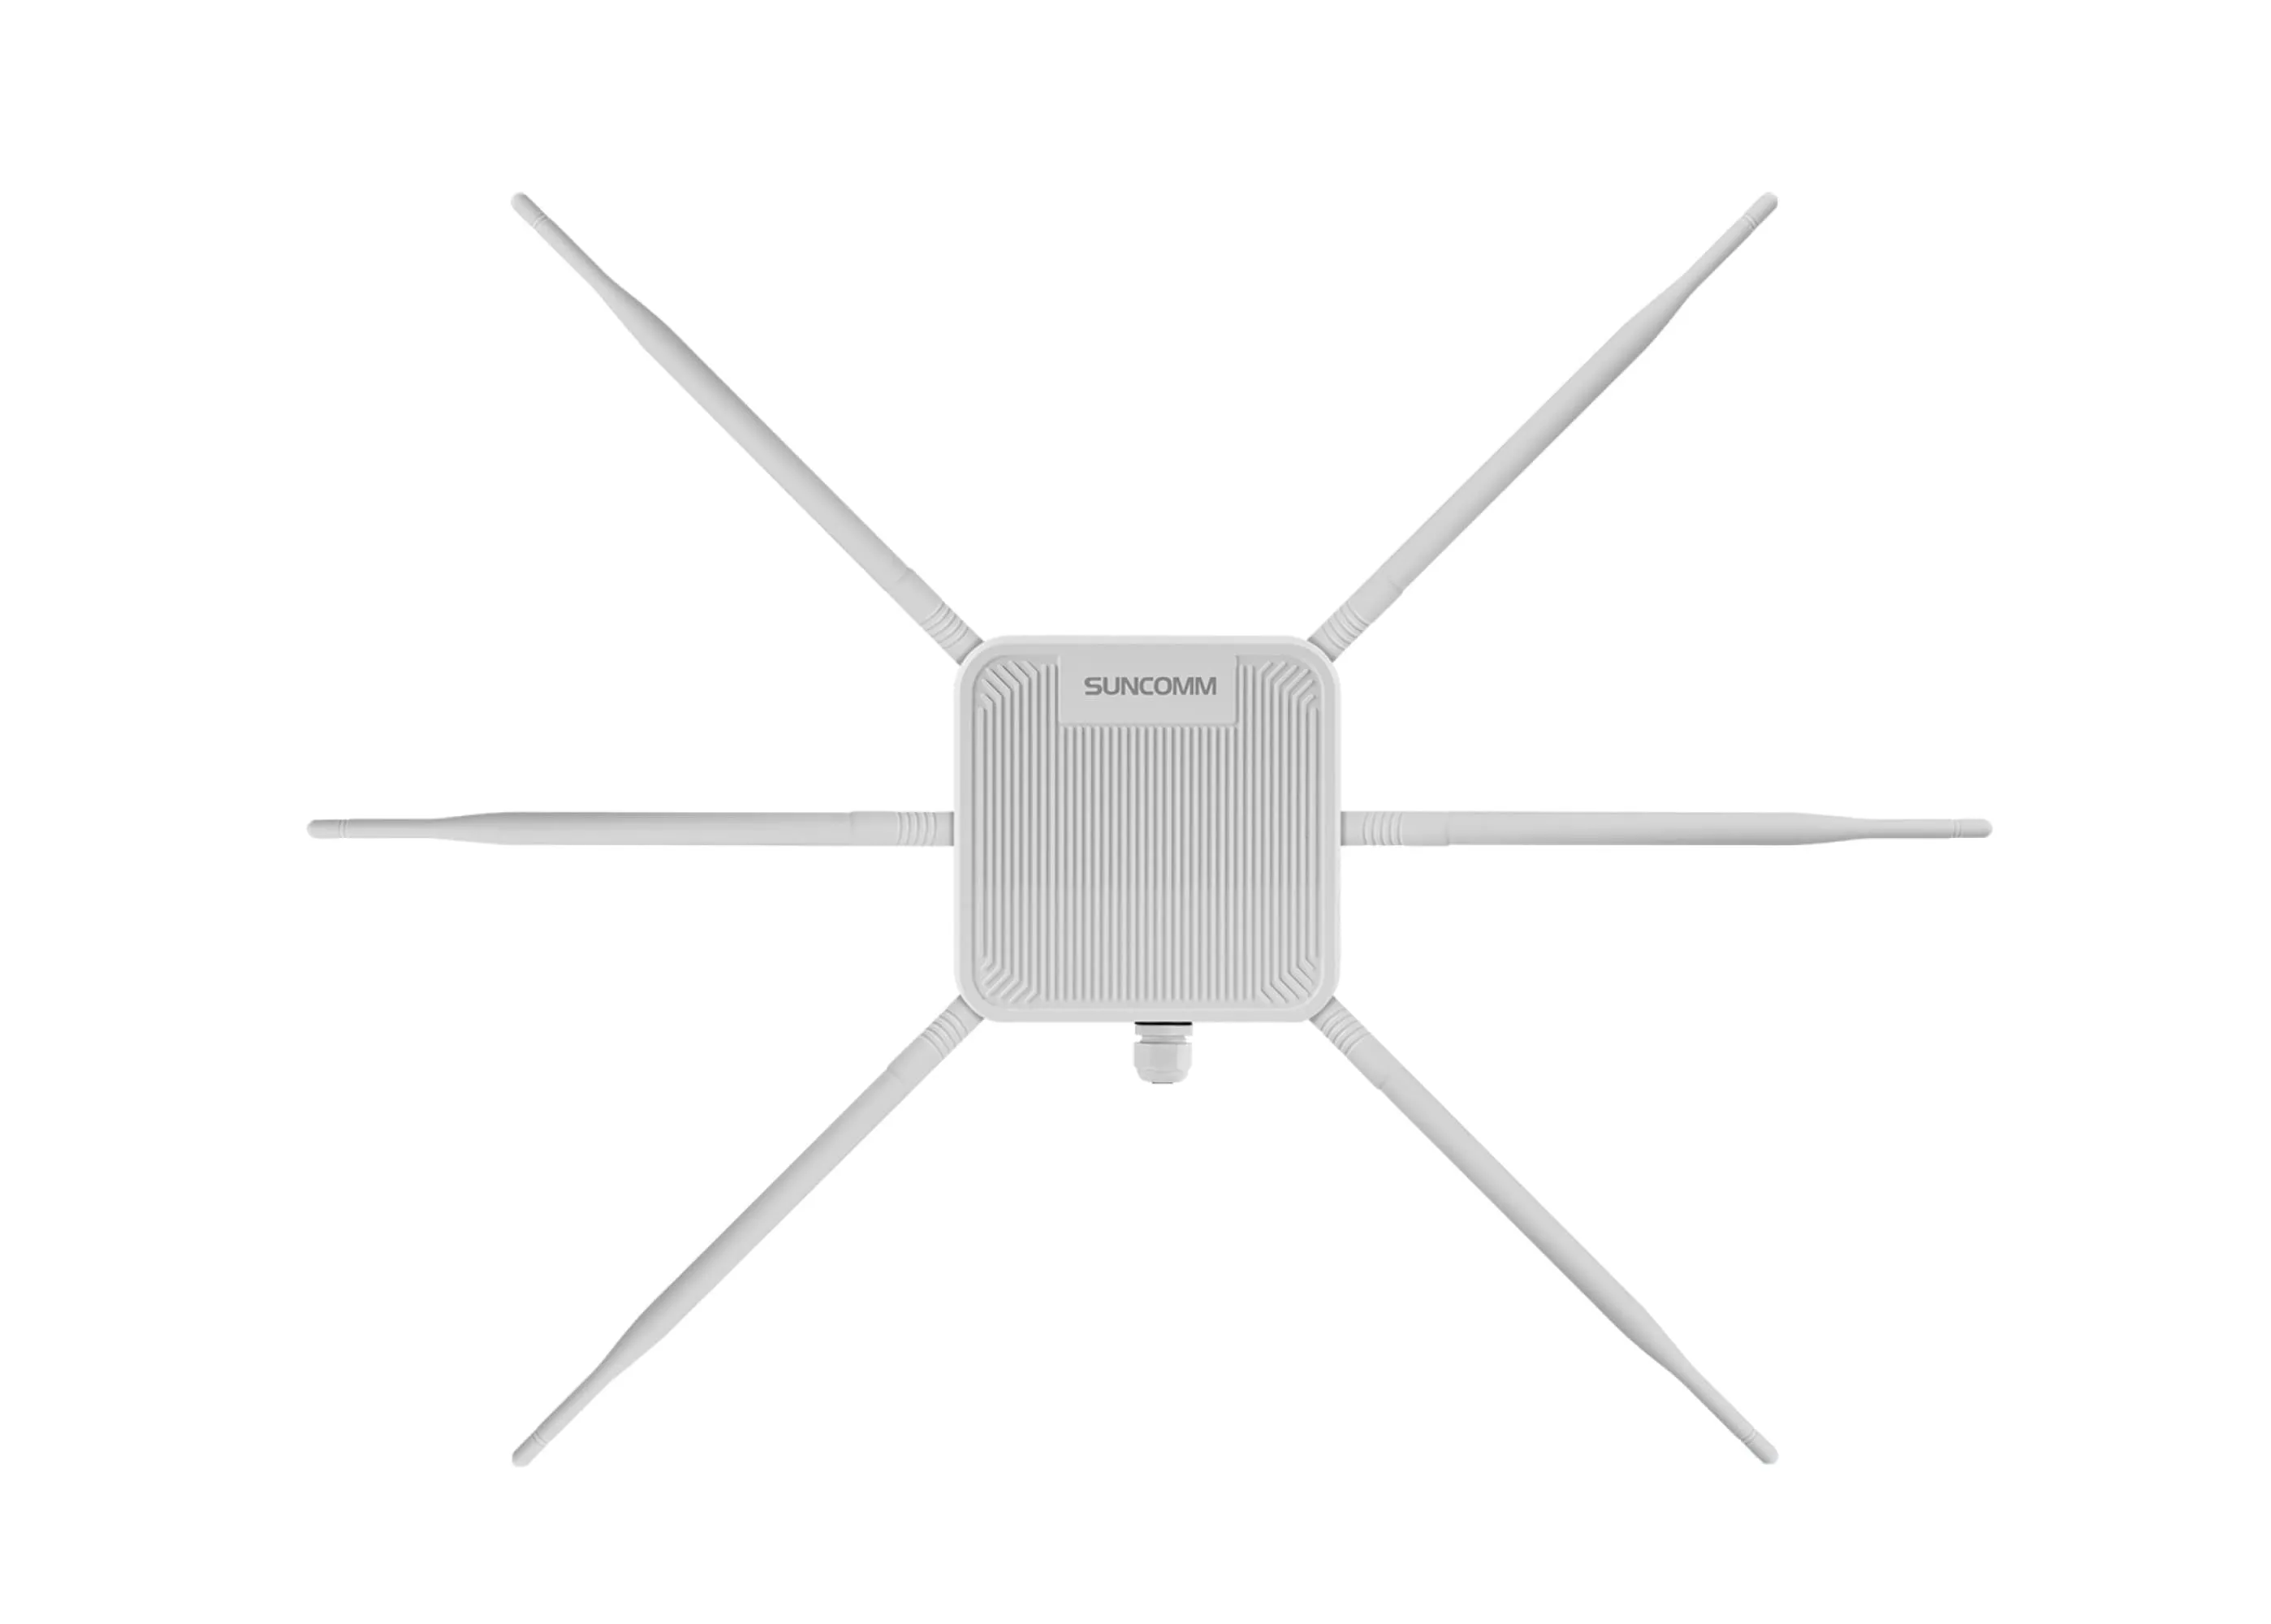

Getting WiFi to cover an outdoor space isn’t always as easy as putting in a stronger access point.
A single WiFi access point might work fine near a building. When the area gets bigger things like buildings, trees, hills and long distances can mess with the signal. That’s where a WiFi Relay Network helps.
Of running an Ethernet cable to each access point you can connect multiple SUNCOMM WiFi Coverage Kits wirelessly. One device gets the network and the others pass it along step by step to grow your coverage.
The idea is simple: one network connection can become a bigger wireless network by using several relay nodes.
---
Before setting anything up you need to know what Relay Mode actually does.
In a WiFi setup an access point connects to the network using an Ethernet cable. It looks like this:
Internet → Router → Ethernet Cable → Access Point → WiFi Users
If you need coverage you might add more access points each needing its own Ethernet cable:
Internet → Router → Ethernet → AP 1
Internet → Router → Ethernet → AP 2
Internet → Router → Ethernet → AP 3
But in big outdoor areas running cables everywhere can be tough.
With a relay setup the network extends without cables:
Internet → Main AP → Relay AP → Relay AP → WiFi Users
Each relay device gets the signal from the one before it and sends it to the next area. This lets you expand coverage without needing a cable to every access point.
---
The SUNCOMM WiFi Coverage Kit is made to be an outdoor wireless solution.
You can set up one device as the access point and use others as relay nodes.
Here’s a simple setup:
Internet ──> Router ──> Main AP ───── WiFi ─────> Relay AP 1 ───── WiFi ─────> Relay AP 2 ───── WiFi ─────> Relay AP 3
The key is that the network doesn’t stop at the access point. You can keep adding SUNCOMM devices at good spots to extend the signal further.
For example:
Main AP → Relay AP 1 → Relay AP 2 → Relay AP 3
This builds a chain of coverage.
---
The biggest benefit of Relay Mode is that it’s flexible to install.
There are lots of places where running Ethernet cabless hard or impossible. Think of a resort or farm. Digging trenches or running wires can be expensive and messy.
With a relay network you can put the access point near the internet source and then place more WiFi Coverage Kits at key spots. The network spreads wirelessly from there.
---
.webp "4个覆盖 (1).webp")
Here’s what you need to know: Relay Mode doesn’t ignore the rules of signals.
Each relay node must have a wireless connection to the one before it.
For example:
Main AP → Relay AP 1
must have a stable signal.
Then:
Relay AP 1 → Relay AP 2
must also be solid.
If the first link is weak adding more relays won’t fix it. You’ll just make the problem worse.
Plan one hop at a time. Make sure each wireless link is strong before adding the next.
---
The first device should go where you have an internet connection. Good spots include:
- A building rooftop
- A tower
- A location on the property
- A network room
- A high pole
- A Starlink setup point
- Any place with internet backhaul
This main device starts the whole wireless network.
Before you install, check:
- Internet is stable
- Power is available
- Antenna is mounted right
- Outdoor gear is secure
- Network settings are done
Place it where it can send a signal to the first relay.
---
Don’t just put the first relay at the far edge of where you want coverage.
Instead pick a spot where it can get a signal from the main AP and also reach the next area you want to cover.
A relay has two jobs:
1. Get the signal from the node
2. Send it out to the area
So think about both sides of the connection.
Main AP --> Receive --> Relay AP --> Transmit / Extend --> Next Coverage Area
Choose the relay spot based on both directions.
---
For use Line of Sight (LOS) matters a lot.
The main AP and relay AP should have a path between them.
Things that block the signal:
- Buildings
- Trees
- Hills
- structures
- Rooftops
- Metal objects
Plan based on real conditions not just drawing circles on a map. A device might say it covers 1KM. If there’s a hill or forest in between it won’t work.
---
Once Relay AP 1 is connected well you can add SUNCOMM kits farther out.
The setup grows like this:
Internet --> Main AP --> Relay 1 --> Relay 2 --> Relay 3 --> Coverage Area
Each relay adds reach. This is helpful when the area is too big for one spot to cover.
---
_(1).webp "relay (2) (1).jpg")
A common mistake is:
“If one device can go 1KM I’ll put the one exactly 1KM away."
That’s not smart.
Real-world distance depends on:
- How high the antennas are
- Line of sight
- The terrain
- Obstacles
- Interference
- How the device is pointed
- What frequency is used
- How speed you need
- How good the client devices are
Keep a healthy signal margin. It’s often better to place relays together for a more stable network.
---
Here’s a key technical point: every time data goes through a relay it adds a hop.
Example:
Main AP → Relay 1 → Relay 2 → Relay 3
Data to a user on Relay 3 must jump through three links.
That can cause:
- latency (delay)
- More airtime used
- More network overhead
- Lower speed possible
So adding more relays doesn’t mean more speed. It just means coverage.
---
This is a big difference: coverage vs. Capacity.
Adding a relay can let users access WiFi in areas.. It doesn’t increase the total internet bandwidth.
Example:
Internet --> Main AP --> Relay 1 --> Relay 2
The network reaches farther. The internet still comes from the same source.
If your internet is 100Mbps adding three relays won’t make it 300Mbps.
This matters a lot for networks like community WiFi, resorts or public hotspots.
---
When building a WiFi relay network SUNCOMM says to ask two questions:
**Coverage:** Where do we need WiFi?
**Capacity:** How many users? How data will they use?
For example:
A farm might need WiFi over 50 acres with 2 people using it.
A resort might cover the area but have 100 guests streaming video and using apps at once.
A community project might need more careful planning.
So don’t design for distance. Plan, for usage too.
.webp "relay (1).webp")